Essential Reading and Prerequisites
 In my previous posts on statically balancing the CRC Carpet Knife, setting good ride height and correctly building the Associated reactive castor front end, I was trying to lay the foundations for ending up with a totally tweak free car.
The following three articles are hence prerequisite procedures before moving on to the steps detailed below:
Please note that I only have experience of the CRC Carpet Knife 3.2R. Obviously the Associated front end is common to many cars but my total “system” assumes you have rear pivot ball and side spring type rear end.
Read these first:
http://markpayneblog.blogspot.com/2005/12/building-associated-l4-type-front-end.html
http://markpayneblog.blogspot.com/2005/12/crc-32r-chassis-setup-static-balance.html
http://markpayneblog.blogspot.com/2005/12/measuring-ride-height-on-crc-32r.html
The Coin Trick is Not Enough
 Most people use the coin trick on the front tyres whereby you lift the front off the ground via the front center point and adjust rear tweak screws for a simultaneous coin drop. In fact I will end this article with the coin trick as a final tweak check BUT… the validity of the “coin trick” is dependant on other things being right first.
With the coin trick, what you are doing is setting the rear tweak screws to equate the downstops (limit of upward front suspension travel) of the front suspension. This is a factor of how accurate the front lower arms are and the ride height spacers included under them. Why would we set the tweak on the rear springs to fix a potential error in the front arms? The rear tweak should adjust the springs when the chassis is LOADED onto the springs all round, not unloaded at the front.
Don’t worry… if you don’t get this yet… we will go through the whole thing here.
Lets Start
I am assuming you have done the following checks (read the previous posts above):
A. You have a well built front end with all the slack just shimmed out of the king pins.
B. You have a fresh ground set of accurate and equal tyres on the car. The left and right tyres are exactly the same size measured with your calipers.
C. You have set the ride height to 4mm all round using the “five points” system.
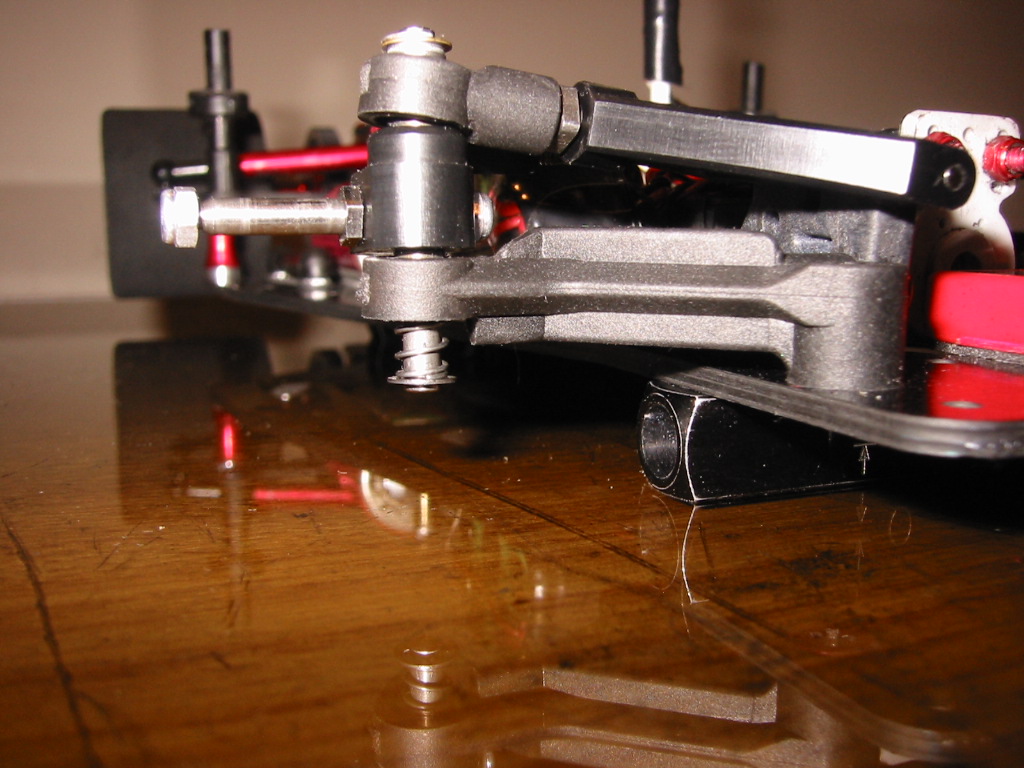
Step 1
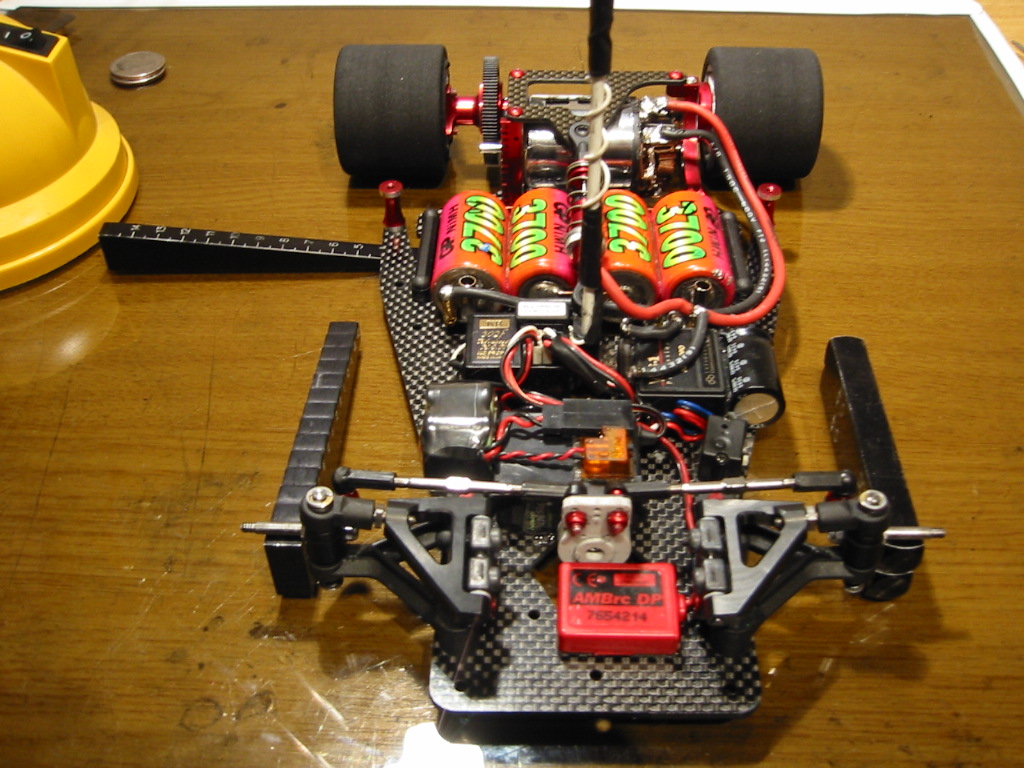
 Remove the whole rear tweak bar assembly and damping tubes. We will be setting up the front end first. Load the car with a set of cells. You will notice that I tape cells into the car. I do not use the CRC “rubber band” cell retention as I believe this can tweak the car.
Now that the tweak bar is off, it is a good time to check the chassis pod is rotating freely. When a CRC car takes a crash, the centre pivot plate can be shifted out of line causing the rear pod action to bind. I now tend to check this every run at important meetings.
Video: Checking Pod Movement
 If in doubt, loosen the two pivot plate screws and retighten them with the pod aligned with the main chassis. Recheck the pod action again.
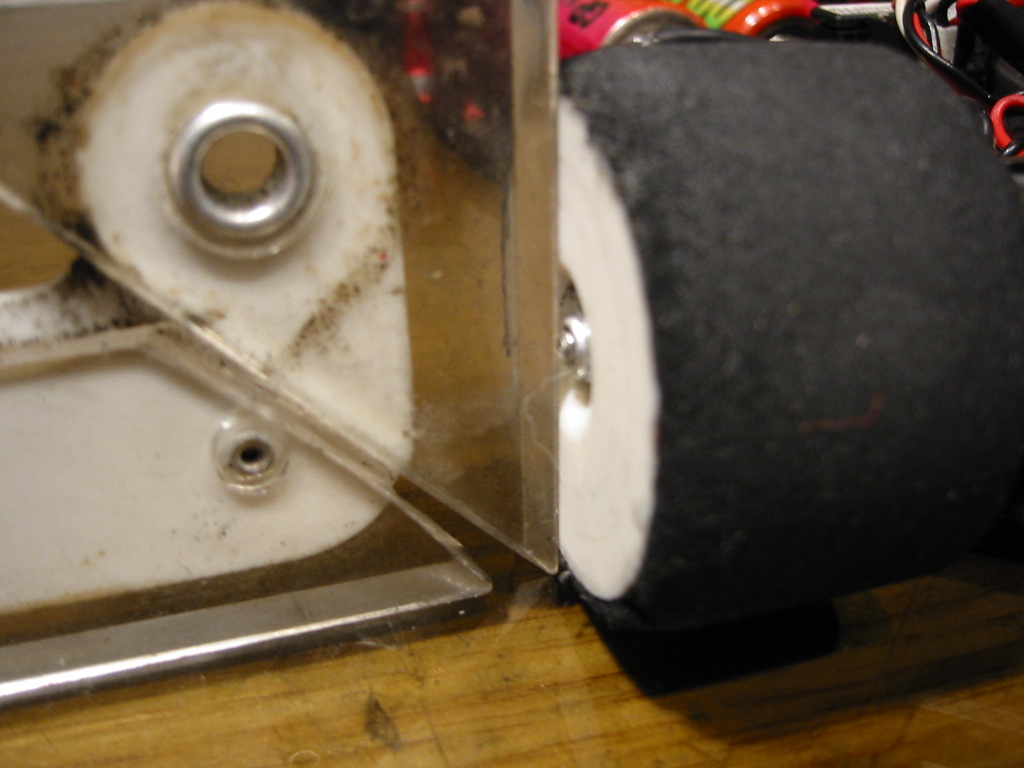 Step 2
Spend some time and make sure the camber on the front wheels is set to 1 degree and is the same left and right. I use a protractor that I have had since my school days (its old!) but there are plenty of camber gauges on the market.
Step 3
Take the front wheels off.
I put the chassis on 5mm blocks. Hudy make these http://www.hudy.net/xhudy/products/proddesc.php?prod_id=153&kategoria=64
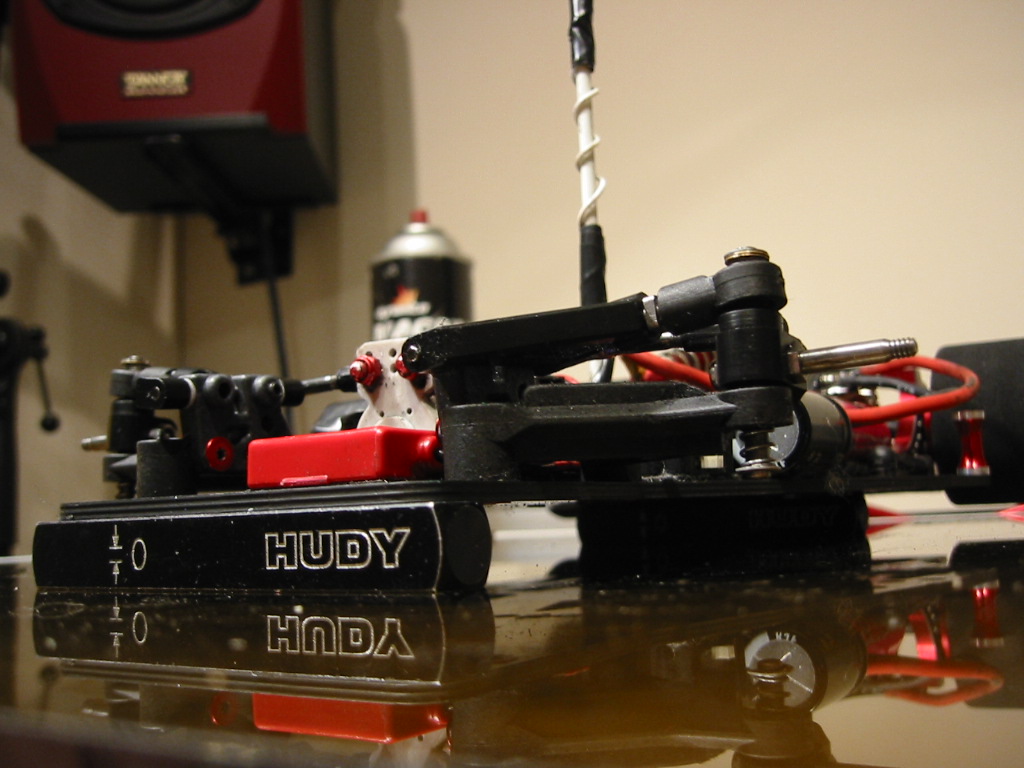 Make sure the chassis itself is on the blocks and not any protruding screw heads, cells or cell tape. If the blocks are parallel to each other there should be no “rocking” evident. If the chassis rocks on the blocks then it is twisted. You will never tweak this car out with a twisted chassis.
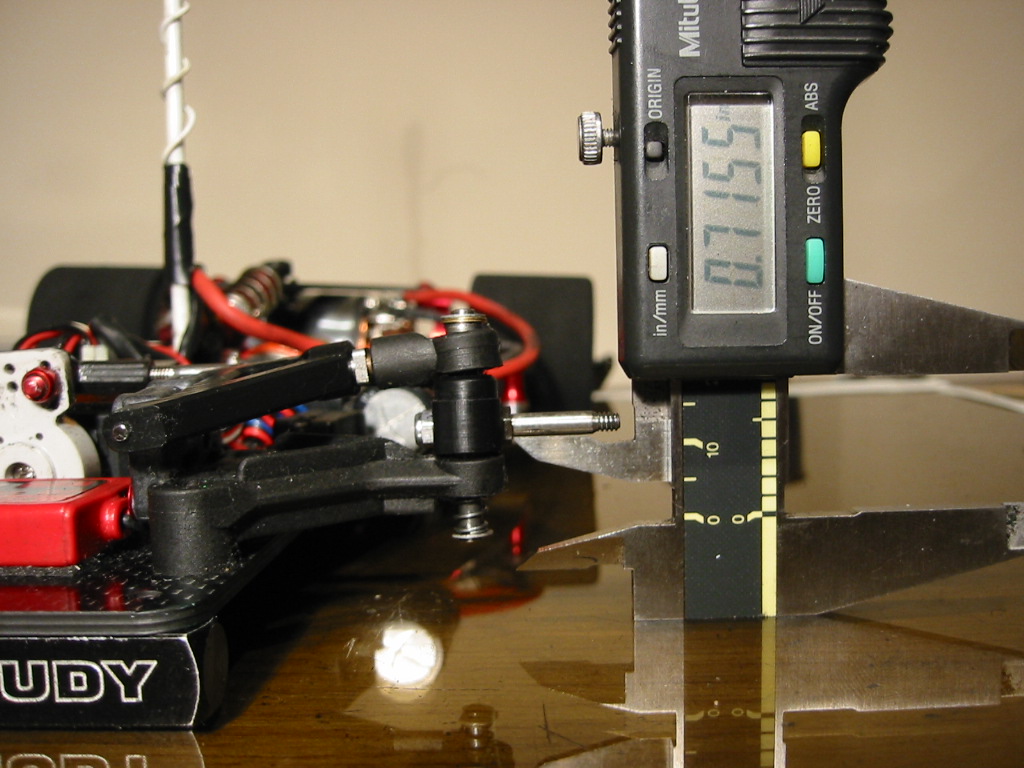
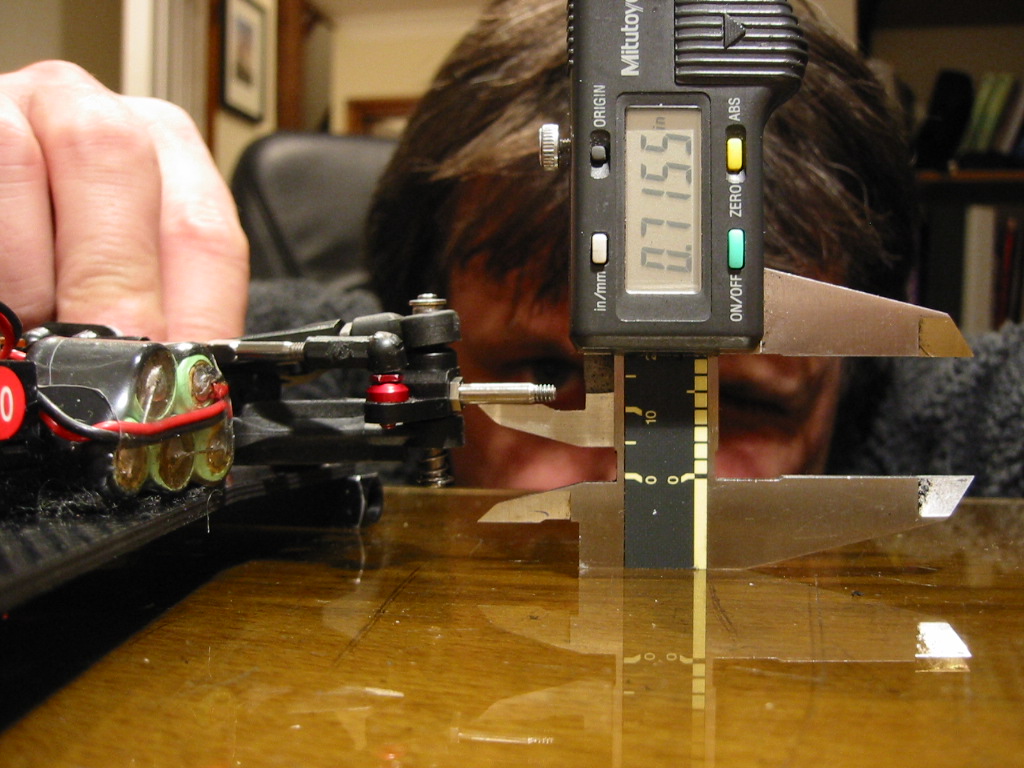
Now use your calipers as shown to make sure the front axles are at exactly the same height off the glass. If they are not I grind the front A arms until I have the a perfect match. If you have followed my previous front end instructions then there should be no issues here and this is just a sanity check. If the axles are not at the same height to within 0.25 mm (0.01 in) then you have a problem that you must address.
Step 4
Put the rear tyres on (fresh ground). The rear tweak bar and side dampers are still removed. The centre shock and spring is on as normal.
 I now place 10mm blocks under the front axles (ok, I use whatever I have at hand to make an accurate 10mm block). The rear end cannot impose any tweak on the chassis as there are no side springs. Even if there is a slight error in the rear tyres, this cannot be transferred through to the front end. The lateral balance of the chassis is now purely a function of the front springs only. You statically balanced the chassis already right? (I do hope you have read the prerequisite steps ;-).
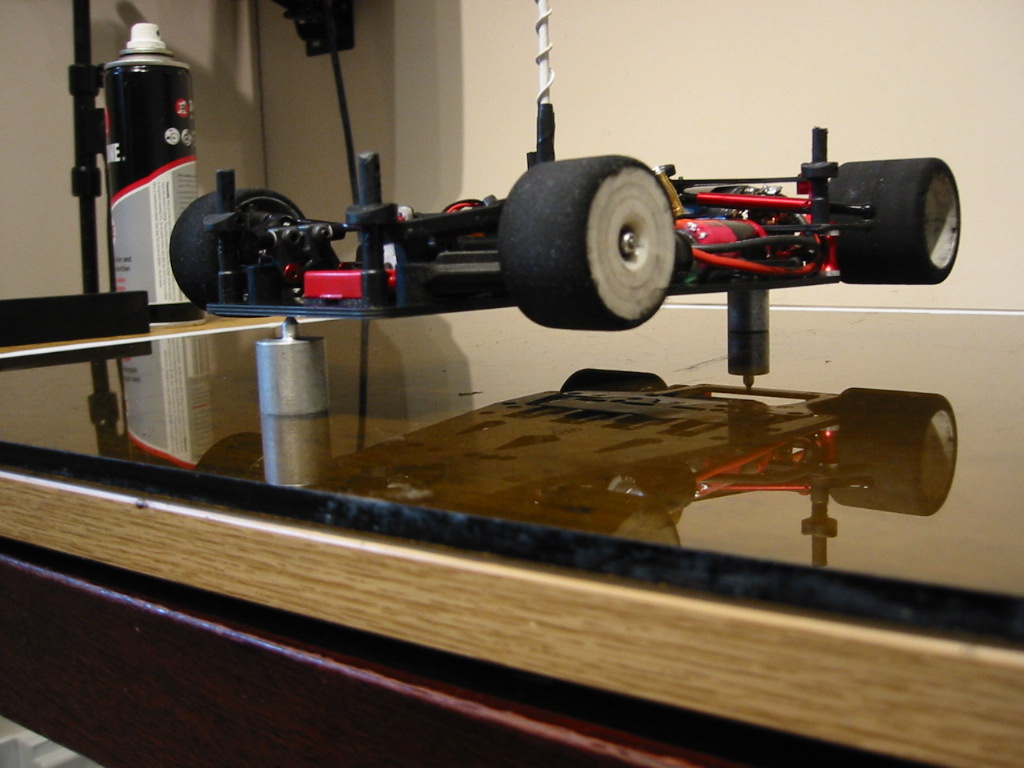 Something to be aware of … we balanced the chassis as a whole earlier but right now the front springs are subject to the full running weight of the car but the weight balance is being imposed by the front part of the chassis only.
I asked myself .. “ what if there is a balance error in the rear pod that we correct in the front (main) part of the chassis?” … Let me save you some time. I took the rear pod off and measured it’s balance complete with motor and pinion etc, it is crack on. An engineering thing that Calandra have got 100% right.
Step 5
Now with the chassis loaded onto the springs at the front, any left/right differences in loaded spring length will result in the chassis not being laterally parallel to the glass. This error will be maximized at the back of the main chassis near where the tweak mounting pods are attached; this is where I measure using a “wedge” type ride height gauge.


Add or remove one or two king pin shims until the left and right reads exactly the same. You will be taking a shim out on the high side or placing a shim in on the low side.
Assuming you (just) shimmed out the slack in the king pins earlier, if you now have to add or remove more than two shims on either side to get things right at the back… alarm bells should be ringing. Something else is wrong here. Go back and check the build of the front end (separate post) and the previous steps in this section.
I generally only accept the addition or removal of one shim on one side or the other at this point to level things up.
Step 6
Its time to put the tweak brace back onto the car. But before we do this I have some tedious details to discuss!
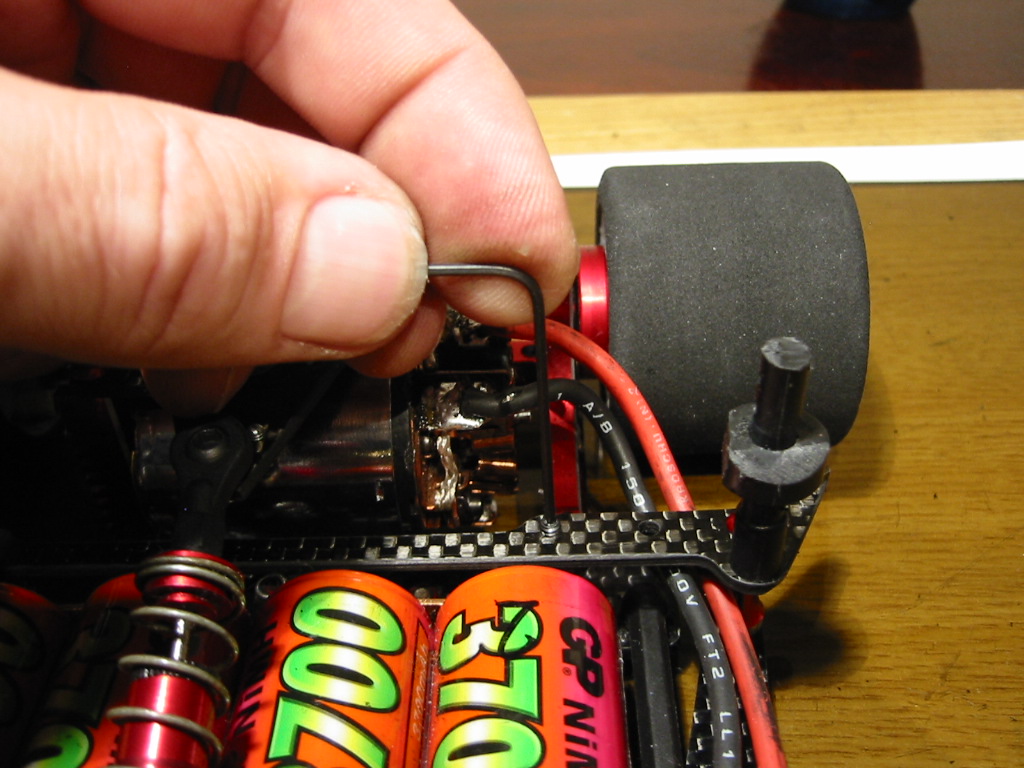
 Motor Wire Warning
Be careful. The wires going to the motor can tweak the rear pod, resisting it’s free movement. To help with this I use 14 AWG wire, not the 12 AWG I have in my kit from 1/10th scale touring cars!
I take the wires under the tweak brace. If you go over the top they can catch on the body, again introducing tweak.
Which Side Spings?
I generally use the red side spring as a starting point. I go to the white spring (softer) for less direct steering. There are two main things I have learnt about adjusting these springs.


The first point is to make sure the spring sits on axis with the tweak screw and mounting. If it is off centre, you get unpredictable changes as the tweak screws are adjusted.
Now attach the tweak brace and I will come to the second point:
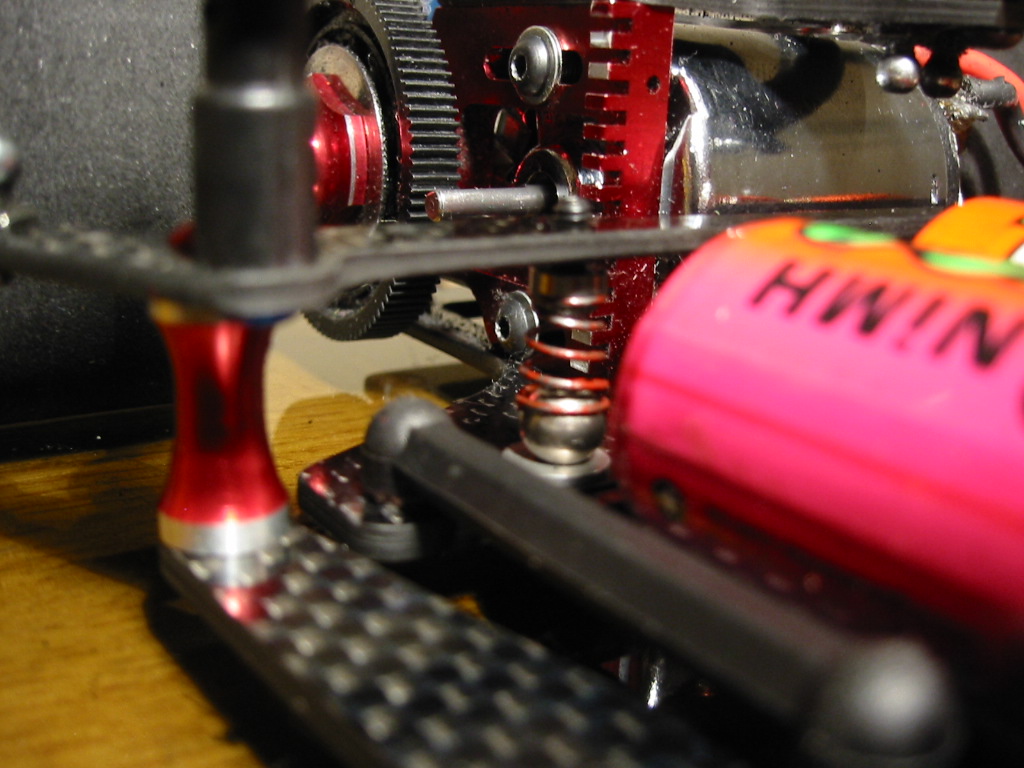 Start with the tweak screws wound right out (springs tight against the brace). Now wind down the same amount on both sides until the springs just touch the balls. I have read CRC setup notes where it has been recommended that this is how you should run the car. Ie. With the springs just resting on the balls when the chassis is flat. But…. My second main point is that I have found the car much more predictable if I load two full turns of spring tension beyond the “touch down” point.
 Leave the side dampers off for now. The front end is still on the the 10mm blocks.
Now look from the rear and lift the rear pod off the ground using the centre point. I adjust the rear tweak screws to ensure both REAR wheels lift at the same time. If you are adjusting the tweak springs by more than ½ a turn on either side, alarm bells should be going off again. Go back and recheck everything because something is wrong.
Step 7
Now look from the front and sanity check the action of the front suspension. As you lift and release the suspension up and down using the centre hole at the front, you should see the same spring compression and expansion working equally on both sides.
Video: Comparing Left and Right Front Spring Action
Well done! You car is now corner weighted and applying balanced pressure left to right.
Step 8
Now comes the “coin trick”!
 Why are we doing this?
To be honest, if you have carried out all the steps above, you don’t really need to do this. Remember your car is tweaked out evenly on the springs and the “coin trick” is going to lift the whole front suspension off the springs. Is this how the car drives? I think not. You already know the front axles lift off at the same height, because you checked this at Step 3.
However, assuming that you have laid the foundations by doing all of the above, the “coin trick” is the quickest way of re-tweaking the car to allow for the errors that creep into the tyre diameters after a run. No track imposes even left/right tire wear and we have to reset for this each run.
I swap the left and right tyres over each run to balance the wear rate up. After doing this I will re-tweak using the coin trick rather than do through the total “system” from scratch.
The Coin Trick
UK readers will want to find two 20p pieces or two £1 coins if you are feeling rich! As the CRC CK 3.2R is such a well engineered American car, I like to use $1 coins….. also this prevents me from spending my tweak tools at the tea bar on race day :-)
Attach the front wheels (fresh ground, the same size!) and place the car on your level flat surface.
Now place your money on the top of both front wheels, just slightly beyond the apex (by the same amount). Now lever the car up using the front centre hole s l o w l y.
The wheel that lifts first will drop the coin first. This is the high side.
Video: Coin drop on a car with bad tweak
 Correct the high side (coin dropped first on the left here) by winding the tweak screw down on the opposite side (clockwise turn on the right in this case). Alternatively back off the tweak screw (anticlock) on the same side as the “early drop” coin. Adjust by no more than 1/8th of a turn at a time. If you are using more than ½ a turn either way then something is wrong or it is time to re-true your tyres.
Video : Coin Drop with good tweak
Conclusion
If you join me at this point then I congratulate you! You are as “sad” as I am :-)
… but I am confident that you car is going to go straight when you power up!
Happy racing!


