 Preventing and Repairing Rear Tyre Chunks
One of the things I like about 1/12th scale racing on foam tyres is that the grip remains consistent independent of the age of the tyres or the number of runs they have done.
In the UK we only run odorless additives which are less aggressive to the rubber, the track and the health of the people at the meeting! I have completed a whole meeting on one set of foams for example. Readers of this article may want to argue about the benefits of rotating to a fresh set of tyres every run within the racing day to prevent the tyres from becoming over soft.
My objective in this article however is to demonstrate how “chunked” rear tyres can be prevented and even repaired. Tyres are expensive and I hate the feeling when you come back from a heat or final with the outside edge of your precious foam rubber with huge bites out of them.
All it takes is a little care and time. You can save yourself some serious beer money!
Preventing Chunking in the First Place
Well the first rule is not to hit anything and do not get hit! Failing this, tyre checking and maintenance is going to be required after every run.
In general only the rear tyres will have chunks ripped out of them. The fronts normally come back chunk free but it still pays to check them over.
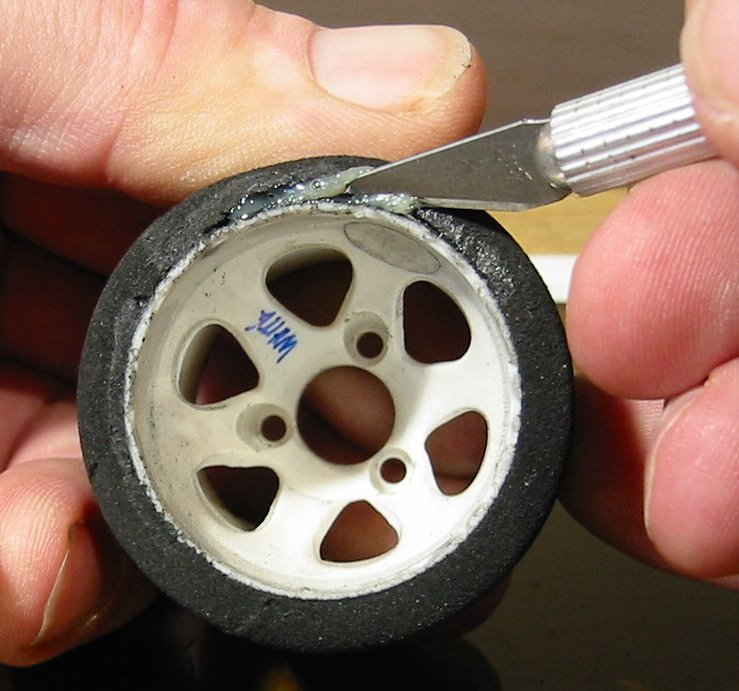
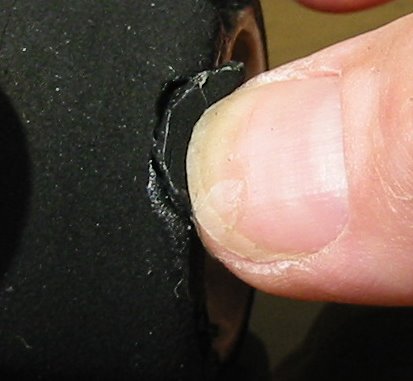
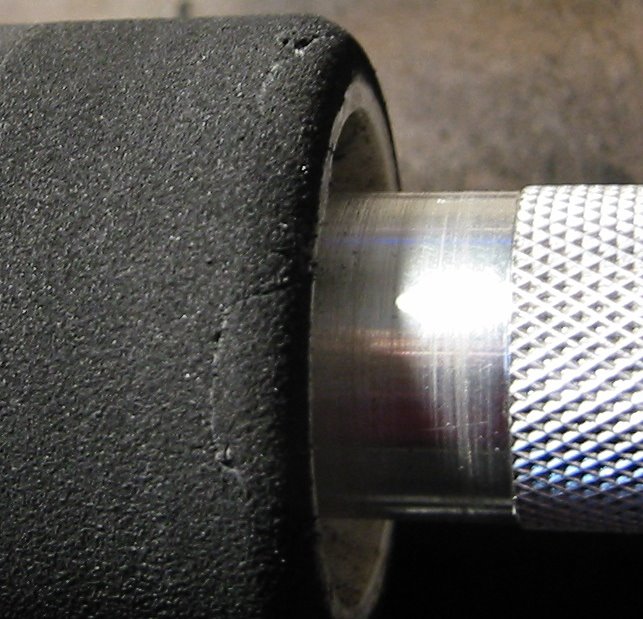
 Try to peel back the tyre from the wheel on the outside edge using pressure with your finger or thumb against the side wall. If there are any gaps developing between the tyre and wheel (even small ones), you must repair these now. Failure to do this will result in further damage in this “peel” area and eventually whole bits of the unsupported foam rubber will be ripped away from the tyre resulting in the dreaded chunking.
 Use the right Glue
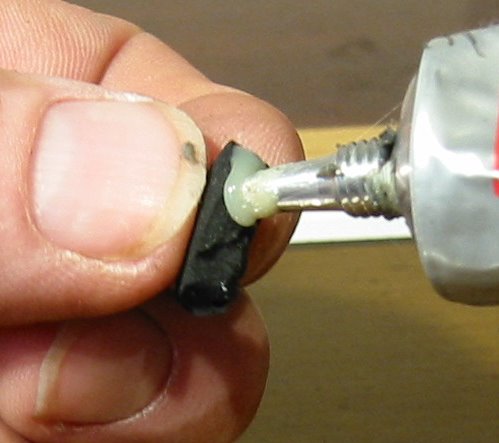
Squeeze some contact adhesive (I use Evostick) into the gap and then work it around with the end of a knife or miniature screw driver. Do not use superglue! With foam tyres we need glue that will flex with the tyre. If you use a super glue or cyano type adhesive you will create hard spots in the side wall and the tyre will rip around these spots again.
If you have made a large repair, it might be a good idea to apply some light pressure around the outside of the tyre while the glue sets. I use a strip of “Velcro” to do this but a rubber band will do just as well.
Leave the tyre for a good 30mins before you run it again.

Chunk Repair
Ok, when I explained this trick some of my racing friends; they simply did not believe me! So I have laid it out for you step by step. Unlike my most of my "improvement targets" in the A final , I do not get given tyres so this is all very important to my wallet!
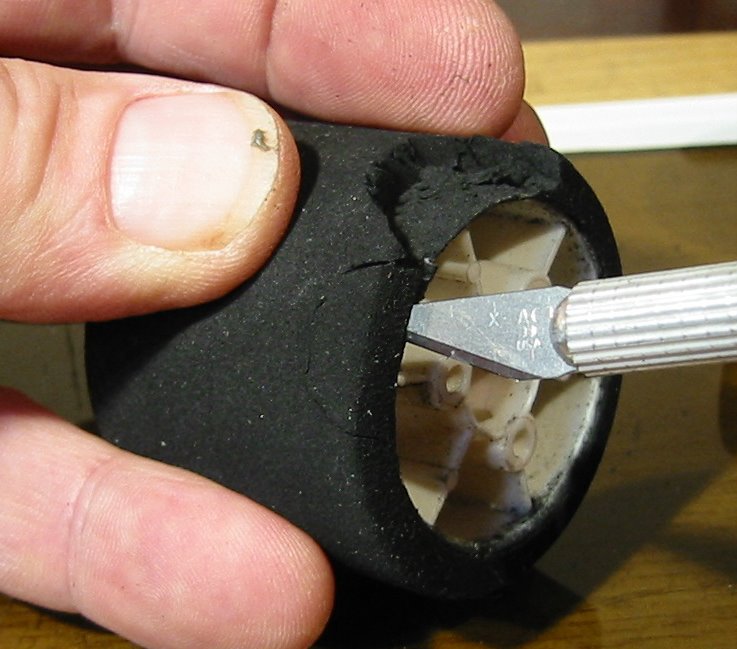
 To do this level of repair you are going to need a a tyre truer, a scapel knife, Evostick type contact adhesive and some nasty chunked rear tyres. I persnally find I have the latter in plentiful supply.
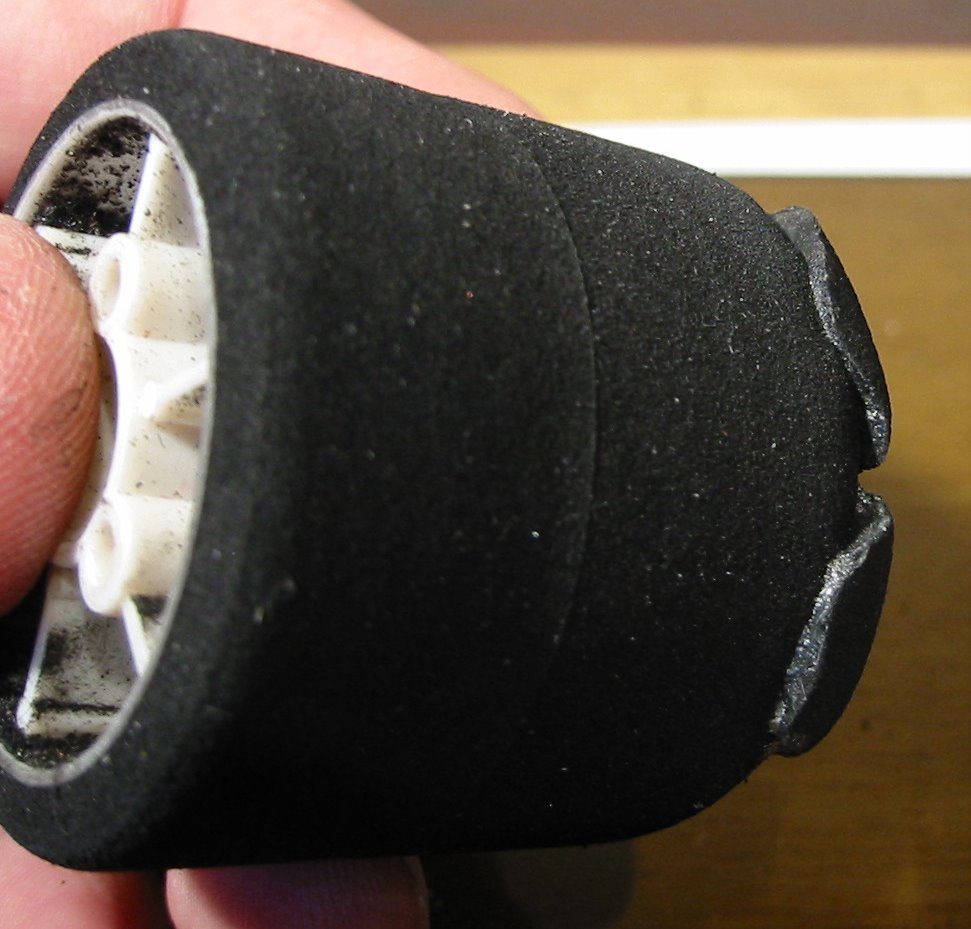
You will notice my patient tyre has two nasty chunks which I will repair at the same time (because I am that good nurse!). These chunks are quite small but to be honest, the smaller ones are harder to repair.
Step 1
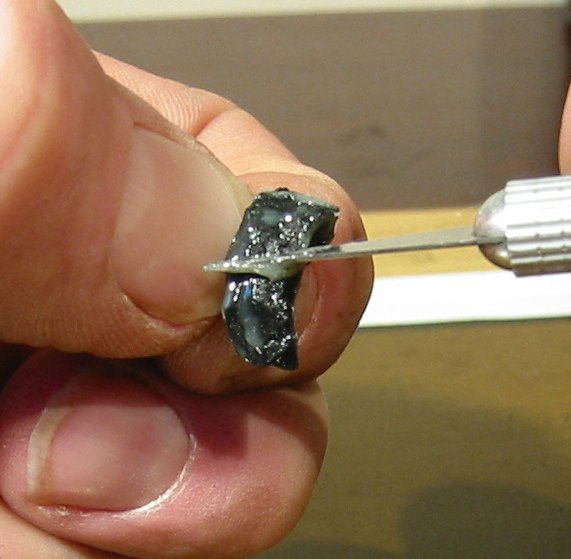
Glue under any gaps between the damaged wheel and the damaged tyre. There may be small tears in the tyre that you are left with so you need to repair these with contact adhesive before we move on to addressing the bits of foam that are missing.
Step 2
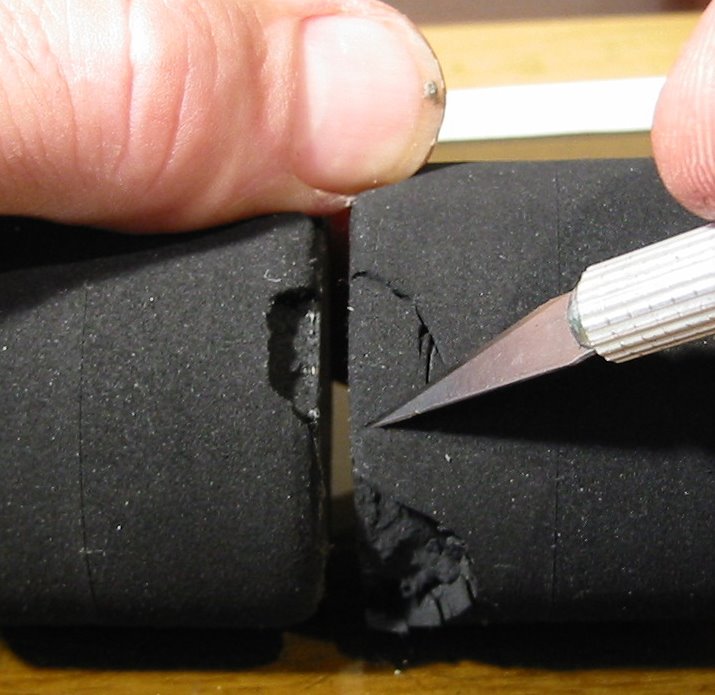 Choose a donor tyre. This needs to be a scrap tyre of the same compound as the one under repair. It also needs to be slightly larger in diameter than the current patient also. This one donor will repair many patients!
With a scalpel knife carve a chunk out of the donor tyre that is a similar shape but slightly oversized compared to the missing bit in the repair tyre. You will be surprised just how bad this match can be! Providing it is “sort of right”, we are going to be able to cram it on in there later! Try to match slants and features in the patient’s “hole” buy cutting these features in the donor chunk. Again do not worry too much but do make sure the donor piece is oversized.
Step 3

Apply Evostick contact adhesive to both the surfaces of the chunk hole in the patient tyre and the donor repair chunk. Make sure all surfaces that will finally come together when the chunk is pushed into place are well coated.
Do not over glue here. We are looking of a shiny glue finish on both parts. Wipe off excess glue. Do not bring the pieces together yet! We need to glue to dry off. This will take around 5-10 mins. Go make a cup of tea.
The idea of a contact adhesive is that the two parts are “tacky” dry before we bring them together.
Step 4
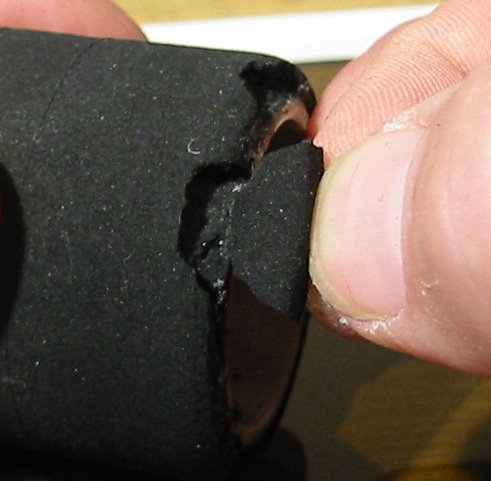
Now fix the repair piece into place. You only get one shot at this:
 Hold the repair piece over the hole with slightly too much material than will fit, ready to be pushed into place. Start the contact point from the outside rim of the tyre working in. Really compress the repair piece into place. The contact adhesive (if dry enough) will grip it and hold it fast.
Now wait again. A good 30 mins is needed for the glue to go off. Go make a sandwich!

Step 5
A disclaimer, especially for my international friends some of which have a certain reputation for “compensation culture” attitudes….. Placing your hands near fast spinning objects is dangerous. Do not attempt this unless you are a consenting adult and you have assessed your own risks. I take no responsibility whatsoever!


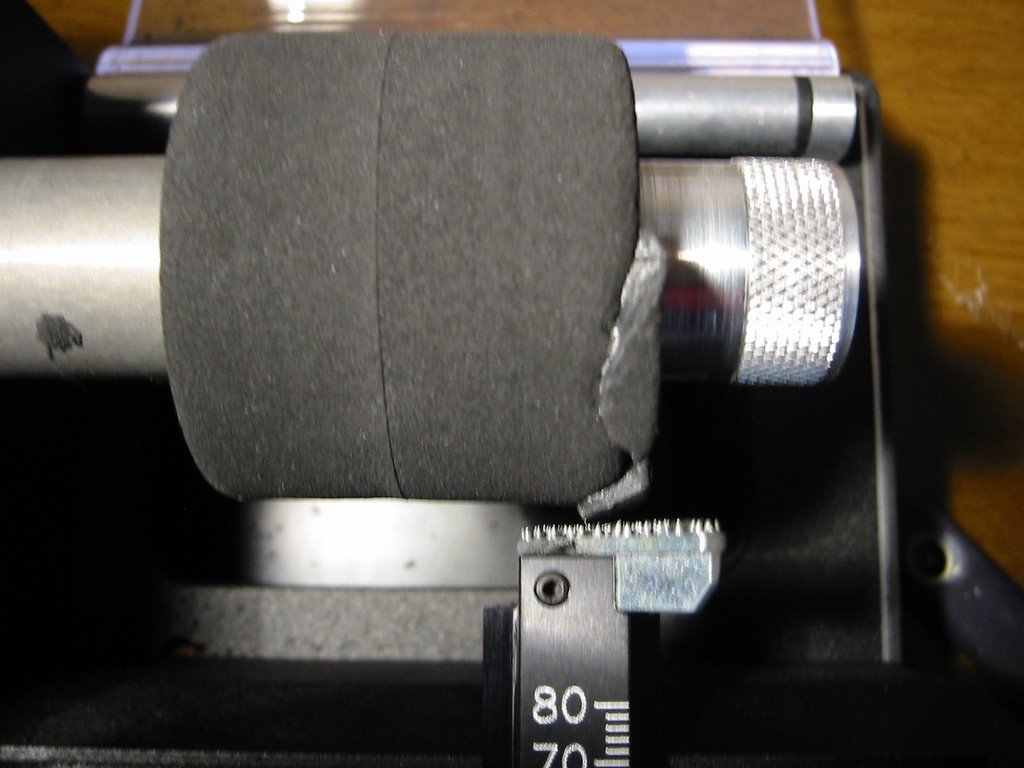
Place your tyre on your truer and wind the tool in over the repair area until it just starts to cut the oversized replacement chunks. Slowly grind these down until you are at the same diameter as the rest of the tyre. Take a final small cut on the whole tyre.


Now using glass paper, true the side walls very slowly cutting back the protruding repair chunks until the side wall is flat.
Finally round off the edge of the tyre with a small radius as normal.


Congratulations! As the before and after images show. You just saved yourself the equivalent of £14.
Cheers
Mark Payne


